
“A bit like a fruit machine” were the words that my co-conspirator Simon White muttered as we sat around my dining table planning out an innovation programme for a client.
He was describing a technique that he had developed to help people generate ideas, based around using three categories from which random entries could be selected. In previous iterations Simon had used small packs of Artefact Cards. But his description of a Fruit Machine (Slot Machine for US readers) set something off in my head.
Iteration 1: The Sweet Tub
Through my work on innovation and play, I’ve become a little obsessed with being able to make things, and make things that are tactile. As we chatted around the table I pieced together an idea linking together the cards and an empty plastic sweet tub that was knocking around from the Christmas holidays. If we could attach cards to the tub, and create an axle on which they could be attached, we’d have the basics of a fruit machine.

Iteration 1 of what would become The Creativator was born. It was a short life. I only had two tubs and from a quick search on Google it seems that they are only available at Christmas, so my plan for workshop tool and unlimited chocolate supply was cruelly thwarted. The idea was there, though.
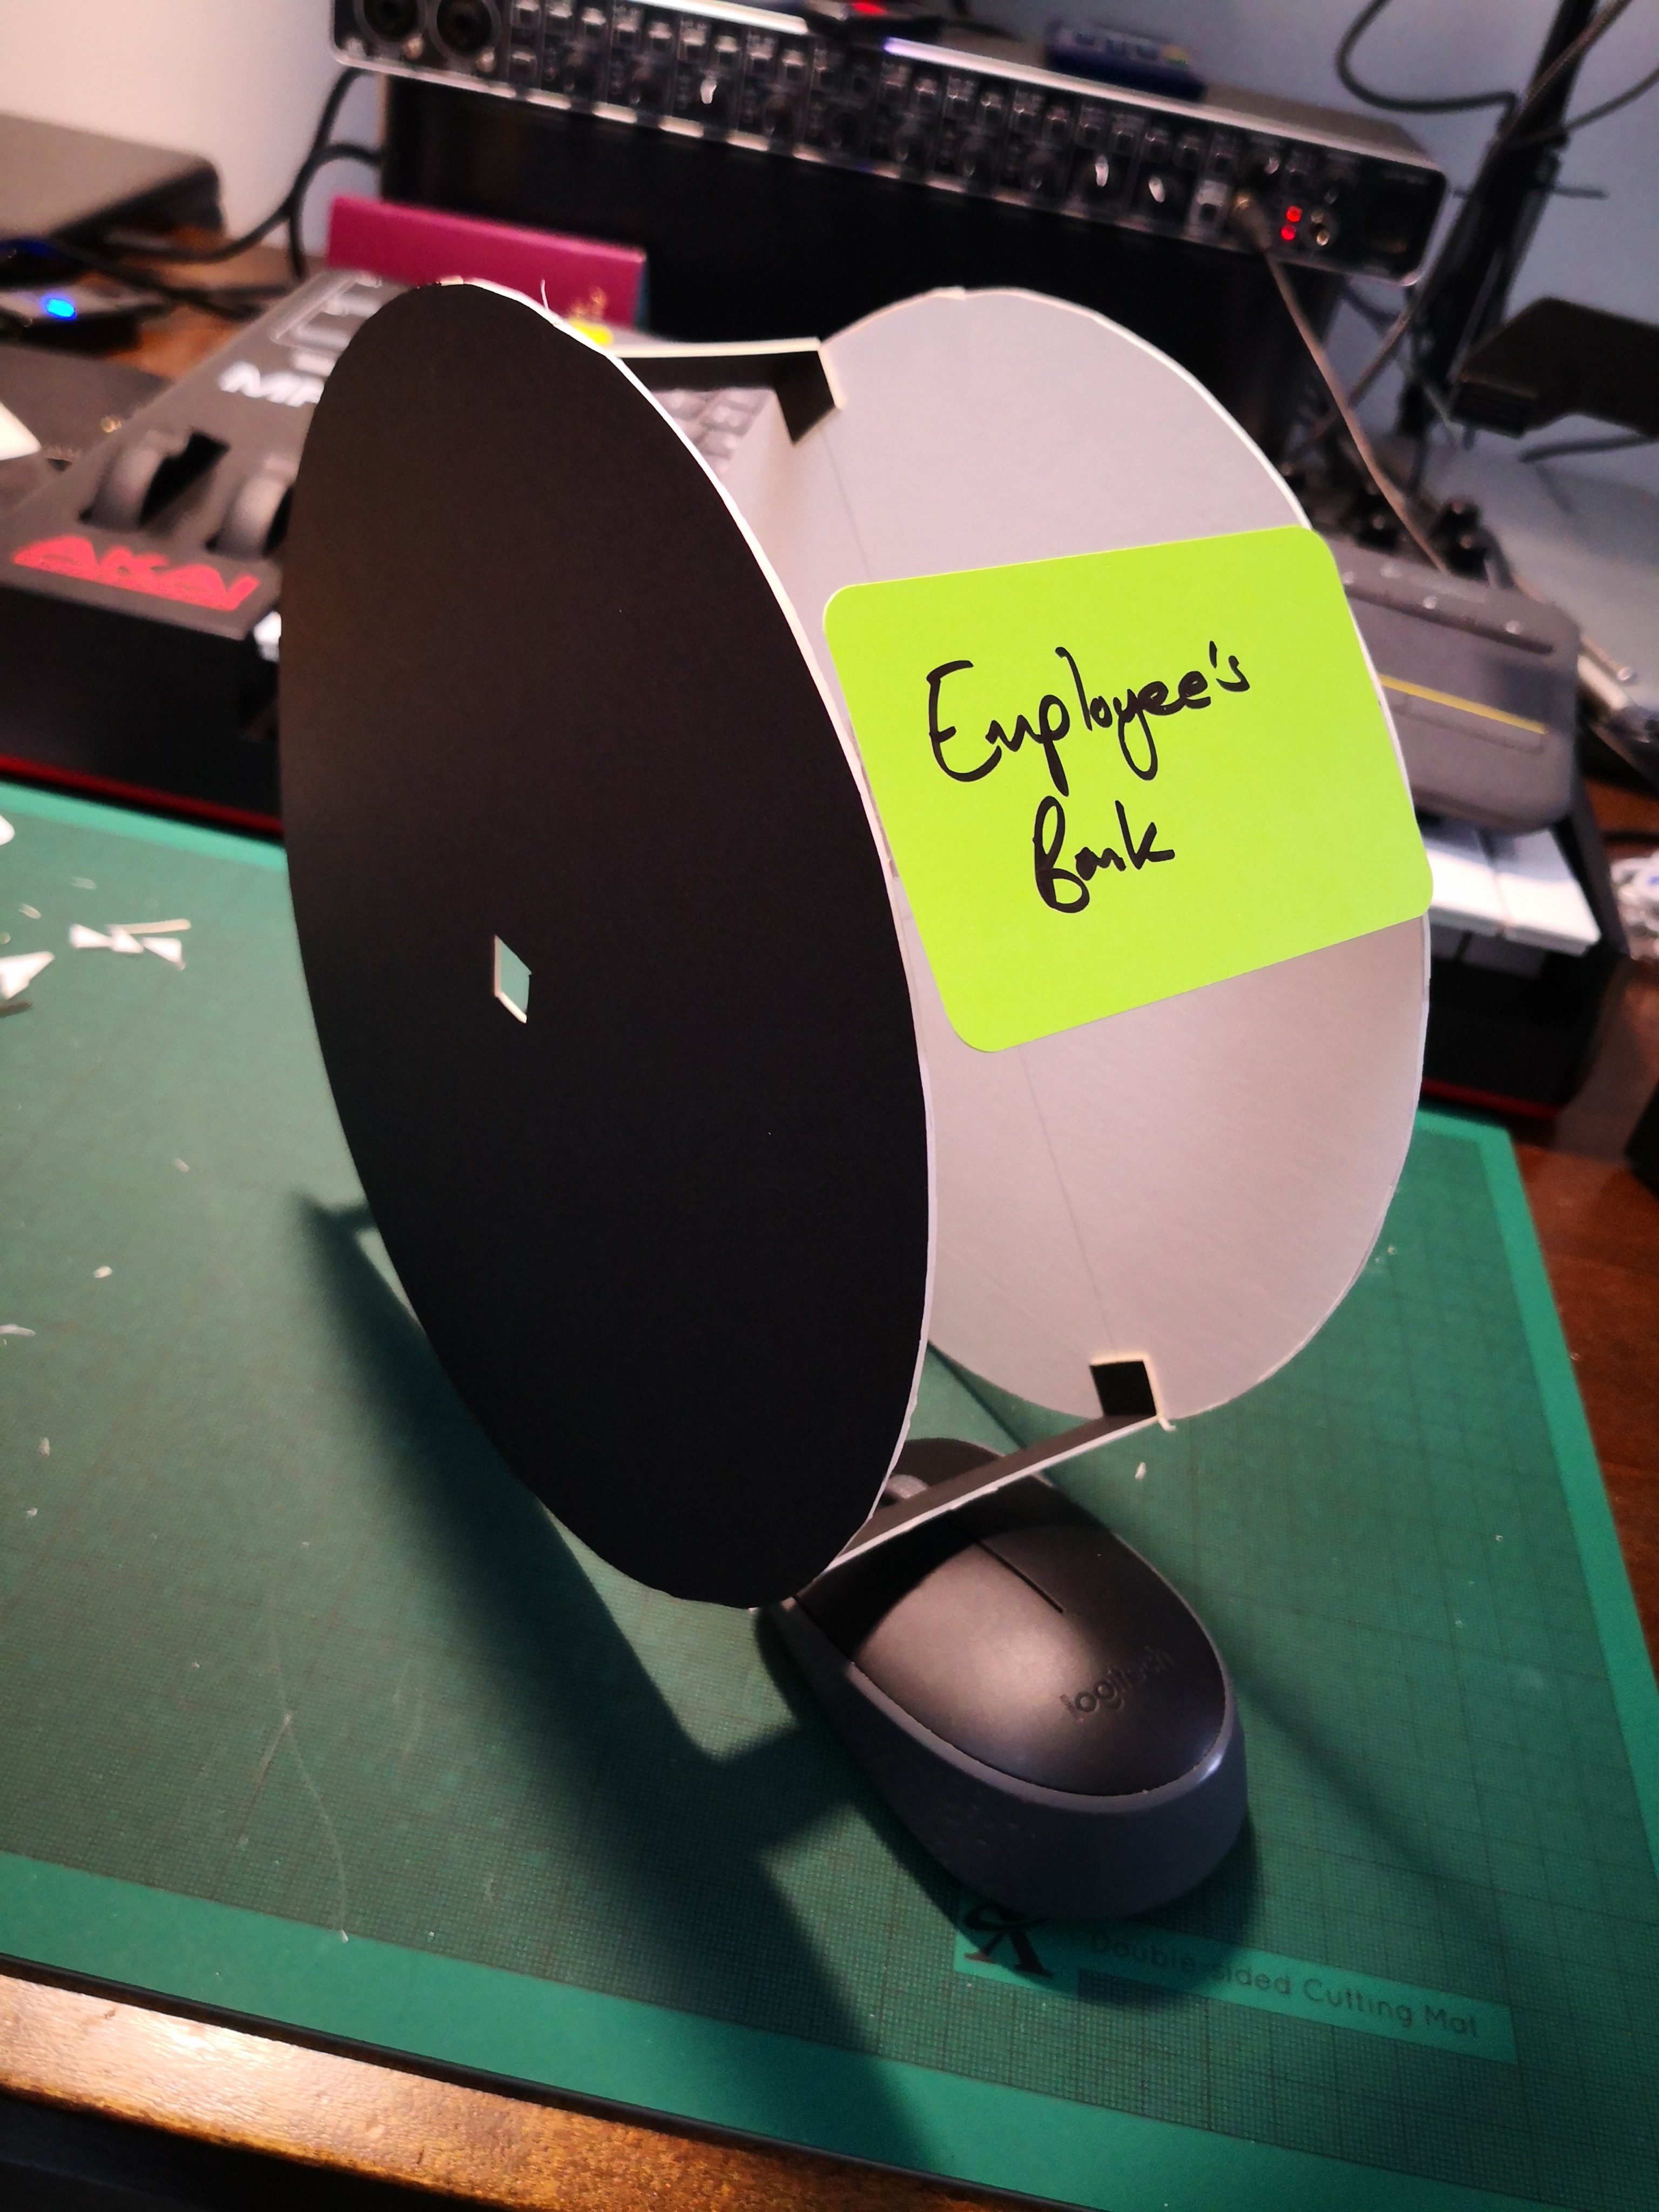
Iteration 2: Circular Wheels
I paid a trip to the local Cass Art shop in Kingston. I figured that foamboard would be a medium that might be useful. I’d also need knives, and a good cutting surface. After a bit of investigation I ended up with a pack of A3 Mountboard (usually used for picture frame mounts), a craft knife, and a cutting board to prevent irreparable damage to our furniture.
I then made a circular wheel wide enough to mount the cards. The size of the wheel was determined by the plates I had available to draw around. For the hole for the axle, I ended up cutting a square. Spinning the wheel on a pencil, one thing that did was to create a very pleasing clacking noise as the wheel came to a stop. The square, though, also resulted in the wheel only stopping in one of four positions.
The main thing I learned from that exercise was that cutting neat circles from mount board is really, really hard. A bit of investigation and calculation led to the idea that a dodecagon (12-sided polygon) was the way forward.
I could get one big enough cut from A3 card, and you can also draw one accurately with just a pair of compasses, a straight edge and a pencil. A smaller dodecagon for the axle hole would also provide the pleasing slow-down noise, and also hopefully help the wheels to fall accurately on one of the outer 12 surfaces (rather than annoyingly mid-card).

All I therefore needed was to order up my first pair of compasses since school.
I also had in my mind that you could get self-adhesive clear plastic pockets that were around Artefact Card-sized, and sure enough I found a pack of 100 on Amazon.
We were ready to build the first Prototype.
Iteration 3: First Prototype
You can build one too!
Ingredients:
6 x A3 Mountboard
4 x A3 light card
Pritt Stick
36 self-adhesive business card envelopes
60 cm Cane or dowling, approximately
Cardboard box around 50x30x50cm
20cm thin foam tubing, or 8 elastic bands
6 marbles
Tools:
Craft knife
Cutting board
Pair of Compasses
Metal ruler
Step 1: create 12 dodecagons
 Using a pair of compasses draw a 12cm diameter dodecagon at the top of each sheet of mount board. Then draw a 1.5cm dodecagon in the centre of the 12cm one.
Cut out the 12cm polygon and then cut out the 1.5cm hole in the middle. This will be the axle point.
When you are cutting out the shapes, be careful to preserve the other end of the card as we will need that to create the struts in the next stage.
Step 2: create the struts
Each wheel needs 4 struts to construct – you can make 2 from each of the remaining pieces of card.

Draw a vertical line down the page at around 14.8cm. Then a line horizontally 6cm from the top of the sheet, and then two further vertical lines at 3.7cm from the centre and 13.7cm which will give you a 10cm panel roughly in the middle. Create a mirror image on the other side. Cut so you have two pieces each around 14.8cm long and 6cm high (the solid lines above), and then score the card on the other lines (dotted). If the mountboard has a different colour on one side, score on the side that is the colour through the card (the sheet will provide a hinge when bent.
Then fold the two pieces to form “n”-shaped struts.
Step 3: construct the wheels
Glue two of the dodecagons together with four struts. It’s easiest to stick all four to one polygon, let the glue dry, and then glue the other polygon on top. You’ll end up with something like these:

Step 4: Enclose the wheels
You now need to create six strips of the thinner card, two for each wheel, to the following template:

Cut on the solid lines, score on the dotted ones. Then bend the card so each becomes slightly more than one half of the dodecagon (each with have 7 sides). Glue to the struts, and then stick one of the transparent envelopes to each of the flat surfaces. You’ll end up with the finished wheel looking something like this:

Step 5: Construction
Cut two slots in the short ends of the cardboard box (this is where the axle will rest), and window on one long side about 15cm in height across the main width of the box. This window doesn’t need to be too precise because we’ll create a mask using the final piece of thin card.

Place two marbles into each of the wheels. This helps the wheels to stop at a similar alignment, and also multiplies the exciting clacking sounds that The Creativator makes as it comes to a stop. Then thread each wheel onto your dowling or cane. I had a piece of foam rubber tubing that had come from a pair of garden shears, and placed them so they act as guides inside the wheels so they don’t bounce around when spun. You could also use elastic bands to achieve the same effect. Also place two around the axle at one end to seat it in the slot.
Then you have your completed Creativator, ready for action… Decorate as you see fit.
Using The Creativator
This isn’t prescriptive, but some reflections on what Simon and I did.
The aim of the workshop was to create a series of inputs from which participants could quickly generate ideas for new business opportunities and services. We defined three categories; edge of reality scenarios, types of business model and data priorities.
For the first category, we primed the group with seven ideas (for example, that the industry in which they worked was to become net carbon positive by 2025, or that consumers of the industry had become better informed about the service through low-cost sensors and thus became citizen-activists). We then asked the group to come up with more of these scenarios, and we populated the wheels accordingly. We had more than 12 ideas, so kept the extra aside so we could have a new idea every session.
For the second category, we defined a series of business models (Franchise, “As a Service”, Broker etc) and again got the group to fill in the spaces.
Final for the third category we used a set of my Priority cards to look at the potential data priorities that a business might be looking to address. Originally we had thought to use just categories of data (“Mapping”, “Weather” etc), but the priorities seemed like a good idea.
Once The Creativator was fully populated we gave it a few test spins. A few folk were straight into it, but the way it presented forced a few into linear thinking that didn’t seem to help. At that point we went for dinner.
With the main session the next morning, we decided to simply, and began with just spinning the scenario wheel. We then used the awesome 1-2-4-All technique to generate 5 ideas per spin.
After a couple of spins, we then started to use two wheels – the scenarios plus the business models.
Over the course of the day we generated 30 refined ideas, and then grouped those into meaningful threads. The work now continues to validate and prototype some of those ideas into something more tangible. Riskiest assumption testing is probably the next step for 3-5 of the ideas that were generated.
What I have learned
It’s only a couple of days since the workshop, so I’m still mulling on it, but some possibly unconnected thoughts as follows:
- I really enjoyed building a thing. More of this kind of thing, please.
- Some people were initially a little bit “Eh?” about the machine in the workshop, possibly because on day 2 we were joined by clients. Ultimately you could achieve the same impact merely with some dice, or cards or similar, but there is something of the school tombola or low-rent gameshow that did seem to make people engage more in the randomising process because of The Creativator.
- The Priorities cards didn’t work in this context. It’s not a problem to change your plans as you go. A single category didn’t give people enough constraint, though.
- The whole construction process probably took about a day and a half. I’ve learned a lot from doing that so it feels like time well invested.
- I obviously channel the spirit of Blue Peter Makes.
- 1-2-4-All is an amazing way to get breadth of idea refined quickly in a group. Try it tomorrow.
- I think I might build some dice with slots for cards on.

2 thoughts on “The Creativator”